Hey, guys. It’s time for the next Silver installment and the drastic measures I took to make it playable and presentable.
First, a bit about my side hustle, writing. The Javan War with JB is getting there, and I’m smack in the middle of Act I of ISOLATED, book one of my new alt-history series. There have been other distractions as well, such as household remodeling/repair projects which have sucked up an inordinate amount of time. It’s been super busy around here as of late.
Alright, just to bring you guys up to date- this is the second installment of the Silver process, the first installment is in the articles below.
Silver was stripped clean. It was time to figure out how to give her a traditional finish.
This was where Mr. Gordon over in PA was, once again, a tremendous resource.
For a traditional finish, you start with eggs. Eggs. You need to seal up the wood on a bare violin so that the color coats don’t bleed into the end grain of the wood; to do this, you need “albumin.” Albumin comes from egg whites.
I was a little fuzzy about exactly how to do this, so I talked with Robert and filled in the gaps with YouTube. It starts with a raw egg. You make a hole in the top, and then you pour out the egg white into a bowl. I used three eggs; I found out later I could have used two. Once I had the egg white, I whisked it until it frothed. When it frothed, I ran the mixture through a fine sieve to get rid of clumps (bad), and then I added some alcohol. BTW don’t use ChatGPT to help out here; Chatty says to add salt. Don’t believe Chatty.
The albumin, which was now fine and thin, was ready. But, before I coated the instrument, I needed to figure out my color. Why? Because to get the color you want, you have to do the entire process on a piece of pine or maple to ensure you reach the desired color. Fortunately, I had scraps of maple to test on.
Observe.
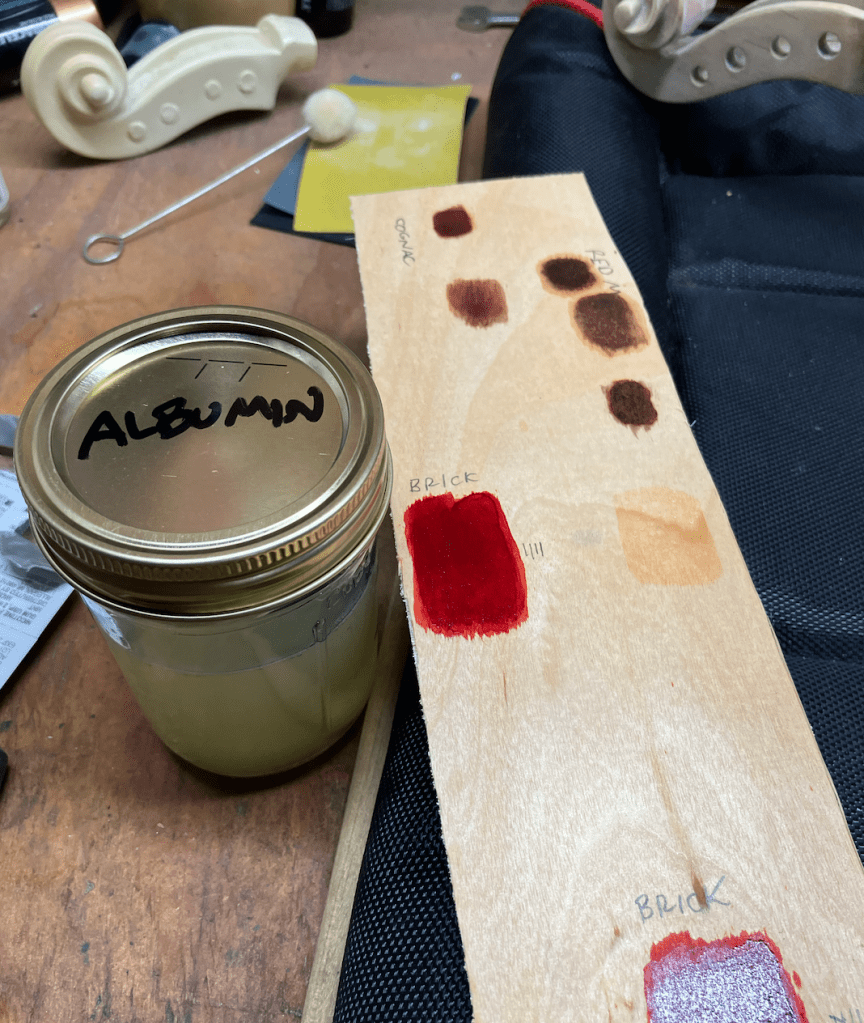
This step is where I discovered that my old go-to, Minwax Red Mahogany, was absolutely not going to work. See ugly brown splotches on my test piece. I wanted this violin to be crimson; big box store stains wouldn’t work.
What to do? It turns out that you CAN buy traditional varnish at a big box store, but you have to research and look. Bullseye shellac in a can is a real shellac (made from bugs); it is an age-old formula suitable for violins. I learned later, though, that you had better not thin it with alcohol. This is because it’s already thinned in the can. But I digress.
Bullseye in a can only comes in clear; you must find your desired shade elsewhere. It turns out that leather dye is appropriate for fiddles. On Amazon, you can find tons of leather dye concentrate in any shade you can imagine. I learned you don’t need a lot of dye to go a long way, now I have plenty.
I settled on the shade called “brick” for this fiddle. I mixed up some experimental varnish and I applied it to the test wood. I liked what I saw, so it was time to varnish.
In my many episodes of YouTube, a luthier had a really cool drying tool. It was a device that held the violin upright as it dried without contacting the violin on any freshly varnished surface. I decided to make such a thing using parts I had hanging around. Observe.
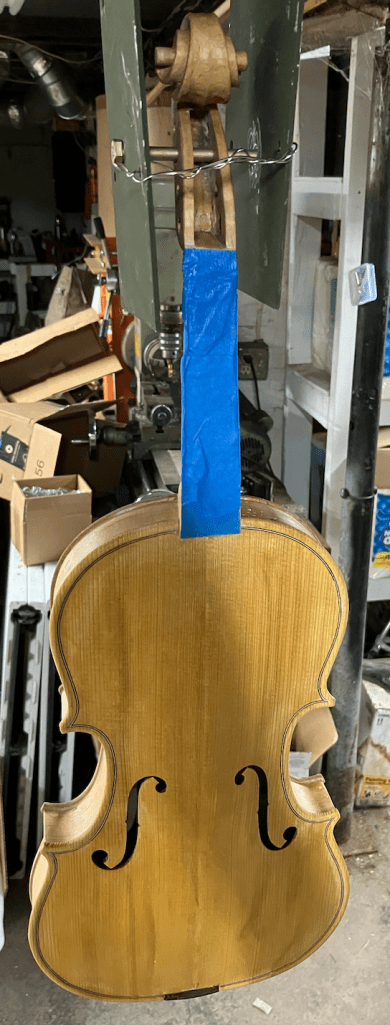
My version of the drying thingy is made from a random scrap piece of Humvee seat aluminum that the Army didn’t need anymore, an OH58 bolt that conveniently fits through the D peg hole, and aircraft lock wire. It’s stupid, but it works.
Once everything was tested and ready, I took the brush to Silver. The naked wood drank in the first coat of albumin, so I hit it again.
With egg guck alone, Silver looked MUCH better. Observe.

Yes, my violin workshop is in my cluttered basement. It is what it is. In this pic, you can see my grandpa’s old Carhartt vest, my ACU IFE from ’05-’09, and a pile of useless fluorescent bulbs that I need to get rid of. But the point is the fiddle. Things were looking good after I buffed it with a clean T-shirt scrap. It was time to clear coat, a step that Robert advised. So, I did. Observe the results.
Wow, I thought. This looked great! The paint-covered wood had good character; all I had to do was add a few color coats.
What could possibly go wrong?
Laughs! Plenty, it turns out.
Stay tuned for the next exciting episode, Bat-Fans!
