Morning, readers.
A piece today about the restoration process with that 94.50 antique store violin I picked up. These are fun projects for me, and I don’t mind writing them up for you all.
Something I am always curious about is the relative age of what I find, sometimes it’s impossible to know. However, there are clues. With Twist the mountain fiddle I could only guess as to its age and origin. Old, and probably of local manufacture. But I don’t know, and I never will. I just know that it’s cool and sounds pretty good.
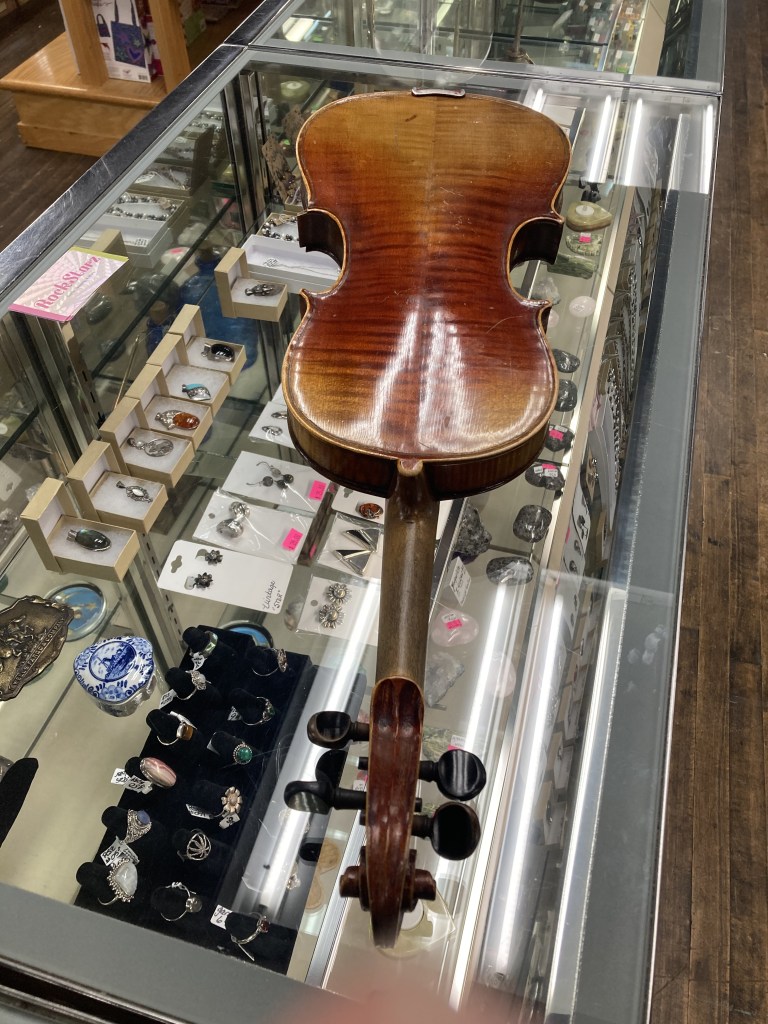
With this antique store violin, at least it had the standard tag beneath the left F-hole. Of course, the tag wasn’t helpful. It just says Stradivarius, like many old violins do. No, this does not mean that the famous violinmaker Stradivarius made the violin. It just means that the violin was copied from his pattern.
While the tag is nice, it is well known that the tag is unreliable when it comes to identifying a violin’s provenance or possible worth. After all, the tag is easily forged or copied. In this case, I have no reason to believe it is a forgery. It’s simply a means of identifying the violin for what it is, a Strad clone.
The tag can help in dating a violin. If the violin was imported to the US after 1891, it must have the country of origin stamped somewhere inside, usually on the tag. If imported after 1921, the tag must specifically state “Made In X.” Well, my tag has no such thing, so it is possible that it was manufactured prior to 1891. However, I do not think it was made before the 1830’s. Why do I say this.
I’ve handled and briefly played a violin made in 1819. It had the shorter neck characteristic of “vintage” violins, or less than 130mm. After a few false starts and incorrect measurements, I finally got a true read on this instrument’s neck length. 130mm on the nose. Of course, many earlier violins were modified to the “modern” length, but then you would see a neck splice, and this instrument does not have one.
I think it’s a good guess that this fiddle was made between 1830-1891. Short of an exact date on the tag or writing on the inside, that’s my best guess. A nineteenth century violin, well-crafted. It’s probably French or German, but who knows.
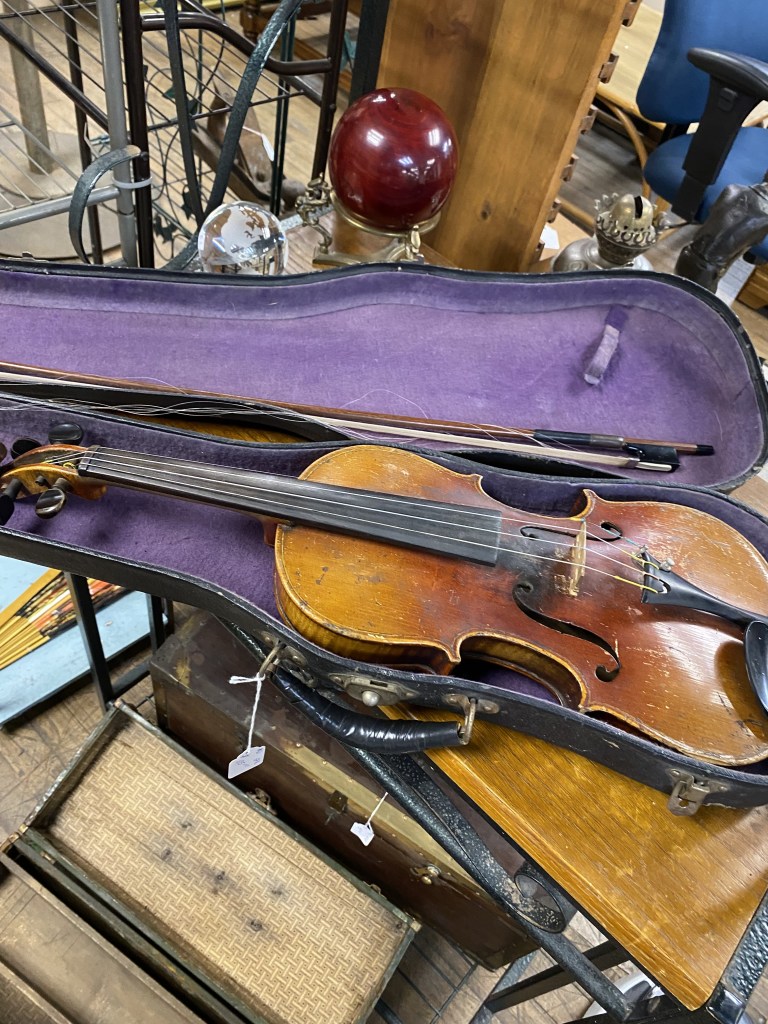
Well, if it had been a vintage violin, I would have sent it to Fiddlershop in Florida for professional restoration. But I don’t think it is, so I decided to tackle the job locally. The first part was mine- the initial cleaning and gluing the loose stuff.
Something you never want to do with a violin is to use carpenter’s glue. Please, don’t do this. Yes, the violin will stick together. That’s the problem- it will stick too well. Violins are made to be disassembled for maintenance. It’s very difficult to take apart a fiddle that someone used carpenter’s glue on! This can easily damage or destroy an otherwise repairable instrument. If you must glue a violin, proceed carefully and use hide glue, which can be released.
This is what I did. A portion of the top plate had loosened from the rib. The crack looked clean, no dirt or grease, so I simply squirted a small amount of glue into the crack and very carefully clamped it with a padded clamp. I wiped off the excess glue and waited four hours before releasing the clamp. It seemed to work like a charm, problem solved.
Then I wiped the violin’s grimy surface with one coat of quality violin polish. Behold.
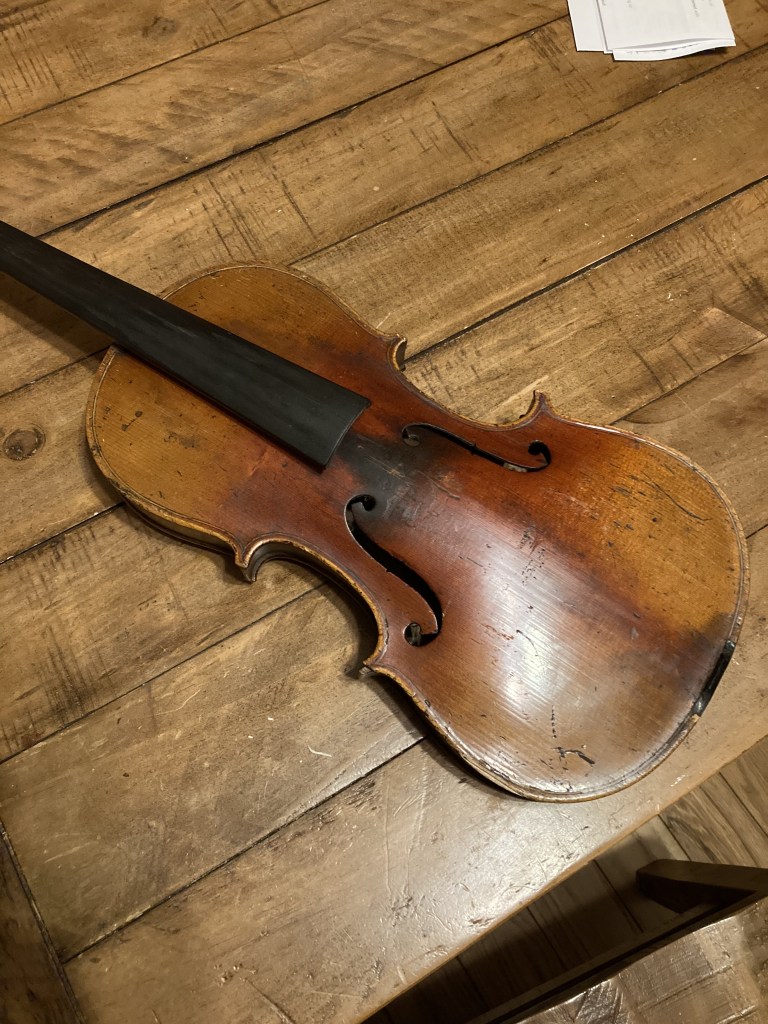
With just a little polish and careful buffing, the old girl was starting to look a lot better. It had lost its junk store funk, although I don’t think the rosin burn will come out easily. BTW, this is why you clean the rosin from a violin. That stuff will bake onto a violin’s surface if you let it sit.
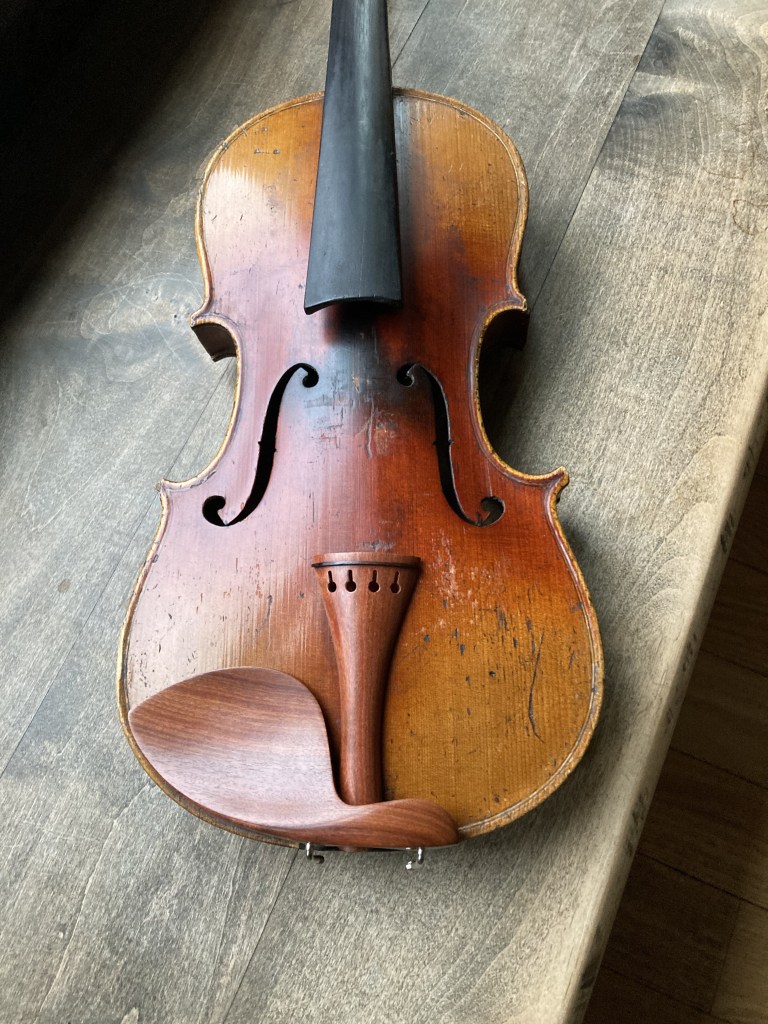
Then I waited. After a few hours, I applied two more very light coats of polish with gentle buffing.
Perhaps you’ll agree that the old girl started to look pretty good.

I didn’t mention that I stripped all of the old fittings from the instrument, but I did that as the first step. This allows you to really get at the nooks and crannies and to see damage that would otherwise be invisible. For example, the fingerboard has a minor crack. It’s not a problem, but it’s something to be aware of.
Speaking of the old fittings. As usual, the pegs were mismatched junk. They were terribly worn. However, the tailpiece and chinrest were still fine. The gut on the tailpiece was actually gut- therefore, probably pre WW2 era. I didn’t throw any of it away, I put the old pieces in a paper lunch bag and squirreled them away. You never know when odd things have a use.
Then I spent a little time looking for the perfect new fittings set for this violin. I eventually settled upon a red boxwood set from Fiddlershop. I ordered the fittings along with a new end pin gut, adjusters, and a decent bridge. Total cost involved wasn’t terribly much.
A few days passed and the bits arrived in the mail. Just to see if the colors worked, I set the new tailpice and chinrest on the violin. See below.
I think this will work very well. Yes, I like plain ebony, but I also like to switch things up a little, and this set of fittings does that.
The next step is to take the violin back to my instructor and let him assemble everything. Then the moment of truth will arrive.
How does it sound?
Time will tell. Stay tuned.